Previous related topic...Next related topic...

Working with Fills

Future Corporation Help

Texture Fills

 
Plugins Flyout  
 
Texture Selector  
 

Overview
There is a large selection of Texture fills provided with SignMaster Cut which are easy to find and apply to any Object. You can also use any Image (Photograph or Bitmap) as a Texture fill which means you can create an infinite range of truly unique and eye-popping effects, see
Image (Bitmap) Fills

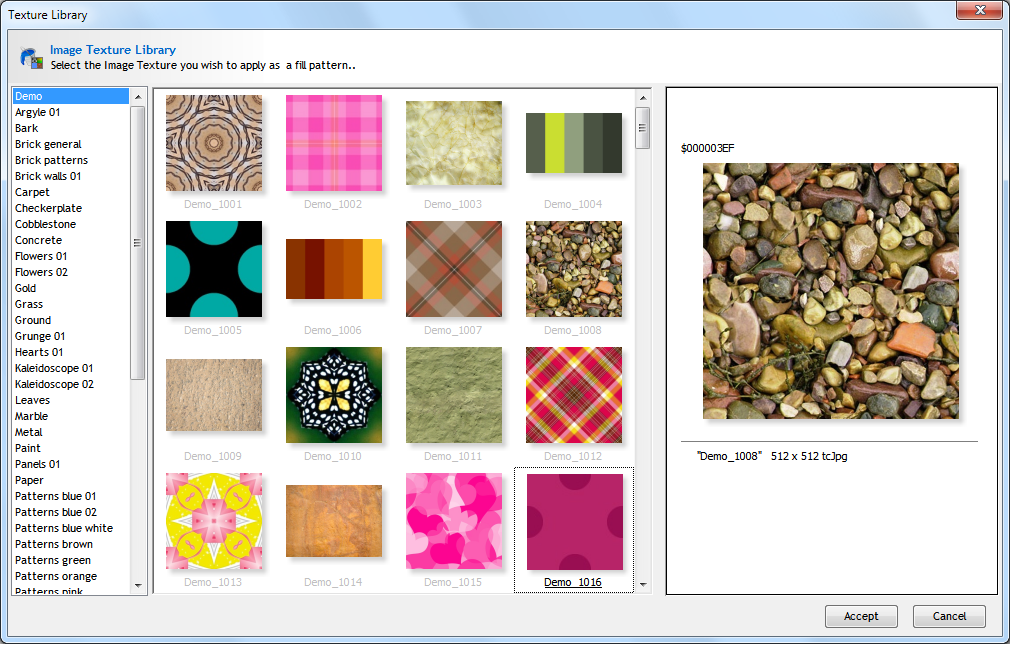
Edit Texture Fills (Fill Mode)
In Fill Mode you can finely adjust, edit and position the Texture fill along with setting transparency and whether to repeat the fill. You can also use any image (bitmap) as a fill and save this off in the User's folder in the Texture's Library, see
Fill Mode


 How to Apply a Texture Fill


To

Do the following

Apply a Texture Fill 1. Click on the Pick tool and select the Object(s) that you wish to apply a Texture Fill to;
  2.

Click on the Plugins and select Texture Selector (as shown above) the Texture Library will open;

   
Textures
Click Image to Magnify [+]
3.

Select the Category and click on the required Texture (Image) from the selection;

  4. Click Accept (as shown above) and the selected Texture Fill will be applied to the selected Object(s).
  Please note To edit the Size of the Texture, it's Position and Angle, see Fill Mode
 

Related Topics


Working with Fills in SignMaster Cut
Texture Fills
Image (Bitmap) Fills


 |   |