Previous related topic...Next related topic...

Group and Ungroup

Future Corporation Help

On This Page

Overview

Group Objects

Ungroup Objects

Ungrouping Effects

Ungroup All Objects

Group and Ungroup (see Effects below)

Group Tools SignMaster Cut - Application Window

1st Row Tools Click Image to Magnify [+]

Overview
When two or more Objects are grouped together, they are treated as a single Object but retain their individual attributes and using the Object Manager or Object Selector remain individually editable. Grouping Objects lets you apply the same formatting, properties, and other changes to all the Objects within the group at the same time. You can also group a selection of existing groups (Nested Groups) to preserve the spatial relationships (relative positioning) between each set or unit of Objects, as shown in the examples below:

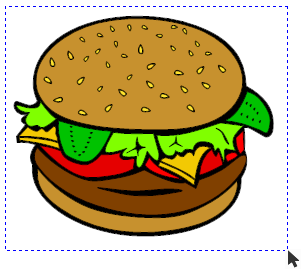
Selection of Objects (Individually Grouped) 
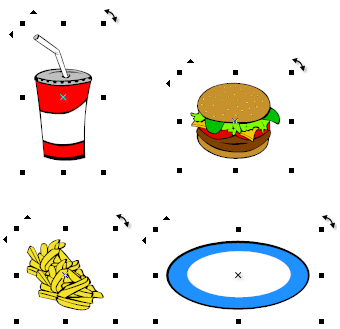
One Group of Four Grouped Objects

How to Group and Ungroup Objects

To

Do the following

Shortcut Keys
Group Objects 1.

Click on the Pick tool

Ctrl+G
2. Position the mouse at any corner of the Objects;
3. Draw out a Marquee over the Objects until they are completely surrounded by the marquee (as shown above) and let go of the mouse button and the Objects will become selected, or;
4. Hold down the mouse button and click on each Object individually to select multiple Objects;
5. Click on Group from the 1st row of tools and the Objects will now become one Object.
Please note

Group, Ungroup and Ungroup All are Dynamic tools i.e. they only appear in the 1st row of tools when they are applicable, however, they are available from the Arrange and Right-Click menus.

Helpful tip You can edit the Objects within the Group by Expanding the Group's node in the Object Manager and then select the Object, which will also select it in the Drawing area for you to edit, see Object Manager

You can also work with and select a Group or any object within a Group visually (thumbnails) using the Object Selector.
Ungroup Objects 1.

Click on the Grouped Objects with the Pick tool

Ctrl+U
2.

Click on Ungroup from the 1st row of tools and the Objects will become Ungrouped (individually editable).

Please note

Ungroup does not ungroup Nested Groups (Groups within Groups) i.e. it only Ungroups to the first level of Groups, see Ungroup All below.

Ungrouping Effects Important: Ungrouping effects removes the effect - inc. Inline, Outline, Shadows and 3D Shading

The reason why this occurs is because effects in SignMaster Cut are dynamic i.e. they remain editable with the objects and are created as an Effects Group. As such, when an Effects Group is Ungrouped - the effect is consequently undone and removed.

The advantage with this system is that the effects remain editable. This means you can keep typing text into an existing effect and/or adjust it indefinitely, even after closing the document and then reopening it.

Breaking Apart/Separating Effects
If you wish to separate an effect you must Convert it to Curves first and then Ungroup it, see Converting Objects
.
Ungroup All Objects 1.

Click on the Grouped Objects with the Pick tool

Shift+Ctrl+U
2.

Click on Ungroup All from the 1st row of tools and the Objects including any Objects within Nested Groups will ALL become Ungrouped (individually editable).

Grouping greatly assists in maintaining the relative positioning Objects and formatting large numbers of Objects.


Related Topics

Selecting Objects
Size and Position Objects
Rotate and Skew
Mirror (Flip)
Constraining Objects
Cut, Copy and Duplicate
Lock and Unlock
Snap to
Z Order (Above and Below)


| |