Previous related topic...Next related topic...

Workspace and Settings

Future Corporation Help

On This Page

Overview

Turn the Grid On/Off

Turn the Grid On (Property Inspector)

Set the Grid's Spacing

Set the Grid as Dots

Snap to Grid

Working with a Grid

Grid Styles
Grid as Lines (equidistant) Grid as Dots (equidistant) Grid as Lines (Non-Equal)

Overview
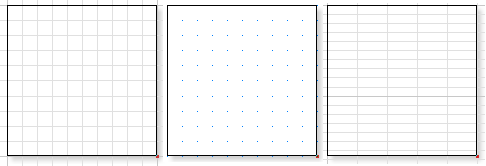
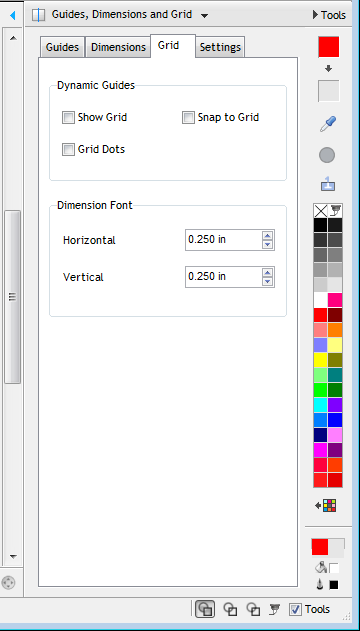
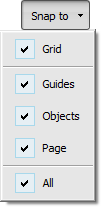
The Grid is a series of dots or intersecting lines that are set equidistant apart that you can use to precisely create, align and position objects, text or curves to in the Drawing area using the Snap to feature. You can 
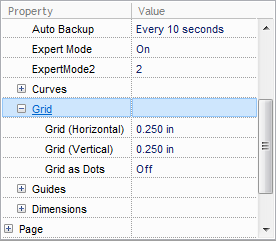
also set the Grid's x and y coordinates at different intervals to each other to suit any layout application, as shown in the simple examples above:

Working with a Grid

To

Do the following

Turn the Grid On/Off Tool Panel
1.

Click on Tools (as shown above) to bring out the DesignCenter, select Guide, Dimensions and Grid and then the Grid tab, (as show directly below);

Grid Tools
2. Click on the Show Grid checkbox and the Grid will now display in the Drawing area, or;
grid
3.

Click on the Pick tool and click anywhere in the drawing area to ensure nothing is selected and in the Heads Up display (buttons along the bottom) of the drawing area click on Grid on/off.

Turn the Grid On
(Property Inspector)
grid
1.

Click the Layout menu → Layout Properties → Grid Properties... and the Property Inspector will be highlighted on the Grid Settings;

2.

Click on the Display expand node and select On for Grid and the Grid will now display in the Drawing area, or

docker

You can also fly out the Property Inspector by clicking on the Tools (as shown directly above) and selecting Object Manager and Properties from the dropdown.
Set the Grid's Spacing 1.

Click on the Pick tool and click anywhere in the drawing area to ensure nothing is selected and the Page tools will become available in the 2nd row of tools (as shown above);

2.

Open the Grid Tools as explained above;

3.

Click the Up or Down arrow in Horizontal or Vertical or type in a Value to Set the Grid's Spacing.

Please note You can also set the Grid Spacing from the Property Inspector by clicking on and going to the Application → Grid node.
Set the Grid as Dots 1.

Click on the Pick tool and click anywhere in the drawing area to ensure nothing is selected and the Page tools will become available in the 2nd row of tools (as shown above);

2.

Open the Grid Tools as explained above;

3.

Click on the Grid as Dots (as shown above) and the Grid will now display as Dots instead of lines in the Drawing area.

Please note You can also set the Grid as Dots from the Property Inspector by clicking on and going to the Application → Grid node.
Snap to Grid

Click on the Snap to dropdown (as shown above) and select Grid and Objects will Snap to the Grid in the Drawing area.

Please note You can also set Snap to Grid from the Property Inspector by clicking on the docker and going to the Display node.
Helpful tip You can also set Objects to Snap to Grid by clicking on the Snap to dropdown from the 1st row of tools and selecting Snap to Grid (as shown directly above).

The Grid is also a quick way to Distribute Objects.


Related Topics

Working with Dimensions
Working with Guides
Working with Rulers
Display Modes


| |