|
Overview
SignMaster Cut is modeled on a standard Graphics User Interface
(GUI) that is intuitive and therefore relatively easy to follow.
However, being such a large application with a lot of commands there are a number of
basics you should become familiar with if you want to get the
best possible results form using SignMaster Cut. The following is a
general outline of how and where the major elements of the
program are and work, which should be read in conjunction with
the other pages of this topic. We then encourage you to watch
the following tutorial to get a solid
grounding in SignMaster Cut.
Commands
SignMaster Cut's tools
(commands) are completely dynamic which means they appear
and remove (switch on/off)
depending on what you are doing in the program at any given
point in time
i.e. the tools are context sensitive (they automatically react
to the current context). Some of the more advanced tools may be
hidden from view to avoid overwhelming users with too many tools
being available at the same time. To reveal these tools, see
Advanced tools below.
Menus and Modules
Both the program's menus
and modules (dialog boxes) which open and close as you
require them such as the Vectorizer (tracing module) or the Mask
Editor (background removal module) also use dynamic tools and
features and will change depending on the current task being
undertaken.
 |
When
you go into another mode or do something new take a moment to
look at the 2nd row of tools which will have completely changed
and offer you a selection of commands relevant to what you are
specifically doing.
|
Advanced
Tools (Reveal and Hide)
To keep a focus on common
tasks and avoid cluttering the toolbars, many of the advanced
tools and features are hidden from normal view but can be
instantly accessed by clicking on the Reveal/Hide
Advanced Tools button, as shown here:
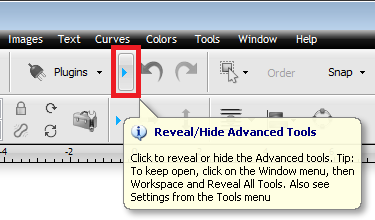
Once clicked the Advanced tools become
available. To hide the Advanced tools
click the Reveal/Hide Advanced Tools button
again.
Reveal all
Advanced Tools
If you prefer to have access to
all the advanced tools and features while SignMaster Cut is running,
click the Window menu
→
Workspace
→
Reveal all Advanced Tools
Permanent Access to
Advanced Tools
If you prefer to have permanent
access to all the advanced tools and features click the
Tools menu
→
Settings
expand Display Settings and
turn Advanced Tools to On.
Menus
Most commands and links to the program's modules can be found in the menus
along the top edge of the Application window. Many of these
commands are hidden in flyouts to simplify each menu as it rolls down. You are encouraged to to
create an object such as a shape or insert an image and scroll through the menus to become familiar with some of
the many tools and features provided in SignMaster Cut. As
mentioned above, many of these commands will only appear
or be clickable when they are relevant which depends on
what you are doing in the program at any given point in time.
Tooltips/Hints
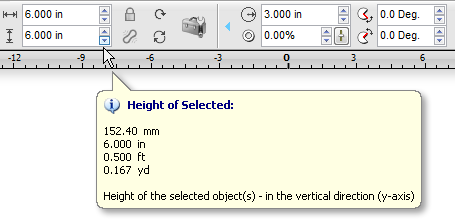
Tooltips or Hints appear over commands when you hover the mouse
over them and provide specific information about that tool.
Edit/Input boxes also reveal the current measurement in
millimeters, inches, feet and yards for your convenience.
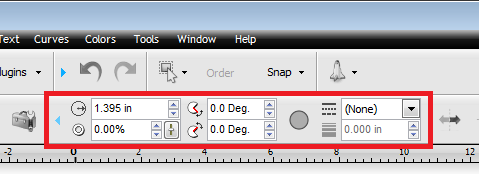
Edit Fields/Input Boxes

Along with the Context Toolbars SignMaster Cut's Edit/Input Boxes
i.e. where you type values in are also dynamic as these let you
type in arithmetic operators such as + (add) – (minus) *
(multiply) and / (divide) - as shown directly above. So if you had a situation where you
wanted to set a measurement of say 10 inches to become one third you
would simply type 10/3 and press Enter and the program will
automatically set the result to 3.333 inches.
You can also
combine metric with imperial within the formula and use parentheses i.e.
() to do more complex calculations such as: ((10in + 100mm)/4)*3
which happens to equal 10.453 inches or 265.50 mm.
Flyouts
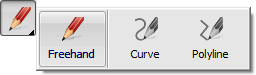
Many important commands are hidden in flyouts to save space and
improve ergonomics. A flyout is indicated by a small triangle on
the right-side of the command. To engage a flyout hover your
mouse over the button in question and press and hold down the
left mouse button for a moment and the tool will flyout
revealing more commands and potentially more flyouts.
Dockers

The Object Manager and Property Inspector along
with all the Tool Panels the Fast Hints and Page Thumbnails are hidden in
the Dockers to save space and improve ergonomics. These
tools and commands provide invaluable assistance when using
SignMaster Cut and can also be controlled from the Tools menu.
Tool Panels
and Thumbnail Viewer for Pages and Objects
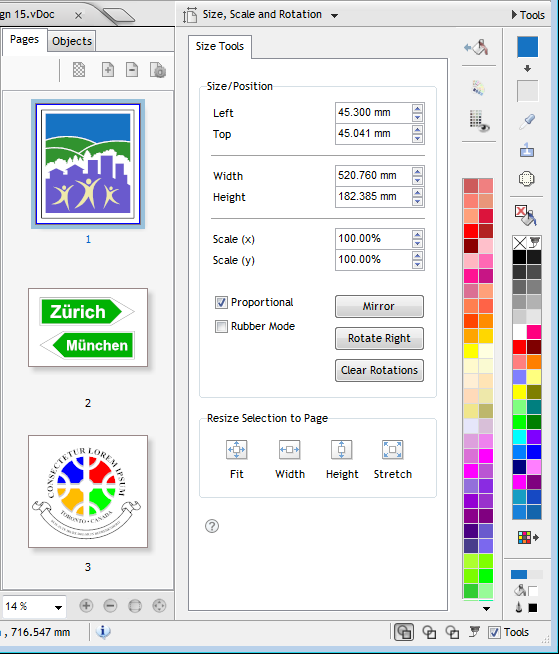
SignMaster Cut comes with a large set of tool panels located on
the right-side of the program along with a powerful thumbnail
viewer for pages, objects and symbols.
Colorbar
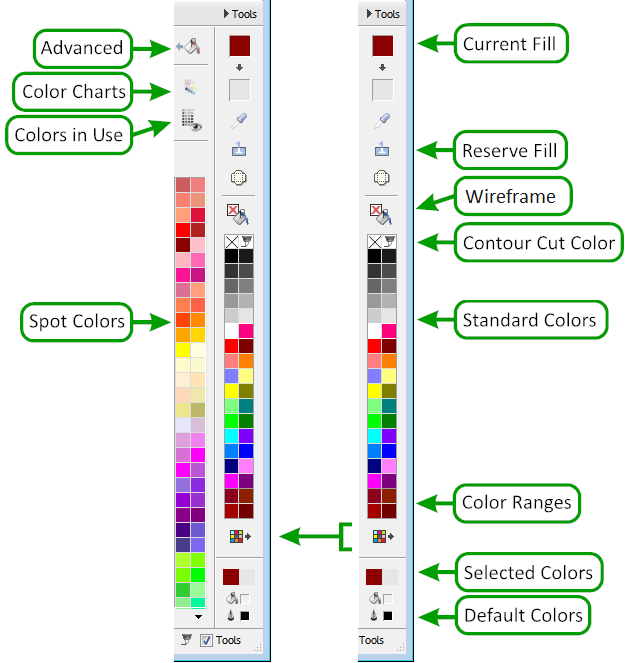
The SignMaster Cut Colorbar has been designed
to provide you with a large selection of Colors-On-The-Fly
rather than having to pop-out additional palettes or modules
since selecting and changing colors is so integral to using a
graphics program. When an Object is selected you can left-click
on any Color Swatch to change its Fill to the selected
Color or right-click to add or change the Pen Style with
that Color. When you click on Color Libraries and select a Named
Color Palette the Palette will appear below SignMaster Cut's System
Colors. You can also view the selected colors or colors-in-use in the Document.
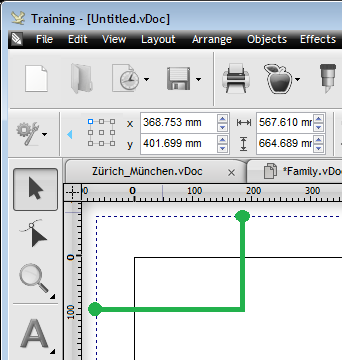
Pan and Zoom Tools
SignMaster Cut has a special Pan Area
as shown directly above, that allows you to Pan around the
Document by clicking and holding down the left mouse button
without having to change the mode you are currently in. The
program also has a full compliment of zoom tools from the flyout
on the left-side, fixed in the bottom-left (Zoom-In, Zoom-Out
and to Selected) and on the bottom-right side (Zoom-to-All).
Heads Up
SignMaster Cut comes with a Heads Up
display which is a series of dynamic buttons which appear
and remove (switch on/off)
depending on what you are doing in the program at any given
point in time. These buttons generally open the Tool Panels on
the right-hand side of the program revealing more advanced tools
and features.
View/Show/Display and Hide
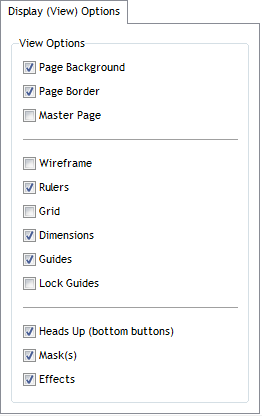
SignMaster Cut provides a number of show
(view/display) and hide commands which are located in the
View Tool Panel which can be accessed from the
base of the Zoom Tools and shown in the Pan and Zoom Tools
above. |