|
Overview
SignMaster Cut allows you to set an Objects fill color as either a
Custom, Uniform or a Spot Color (Named Color). You can
also create your own named color palettes should you
wish to do so and use these from the SignMaster Cut Colorbar from the right-side of the program.
Color Tools
Located within the
DesignCenter are more advanced color
tools and features, see
Color Tools
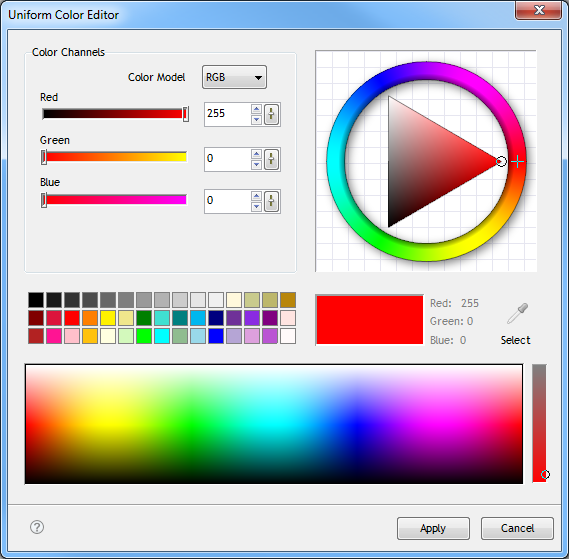
Color Models
SignMaster Cut uses the CMY, CMYK, HSV, L*a*b* and RGB Color
Models throughout all its Color mixers plus Greyscale in
the Spot Color mixer. For more information on Color
Models, see
Understanding Color
The SignMaster Cut Standard and Spot Colorbars
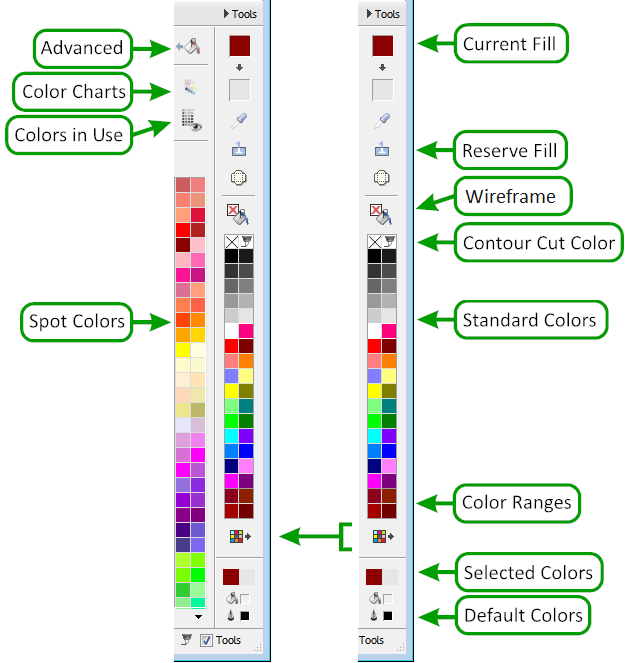
The SignMaster Cut Colorbar is broken into several sections
and expands to reveal Spot Colors and Advanced tools (as
shown directly above).
• Current Fill:
displays the selected object's fill and if clicked will
open the relevant fill dialog
• Reserve Fill:
copies this fill to the selected object
•
Standard Colors: is a set of system colors for
general use, see
Uniform Colors
• Color Ranges:
increase darkness or lightness of the current fill or
adjust the hue channel
• Selected Colors:
displays the selected colors and all the document colors if nothing
is selected
• Color Charts:
opens the Color Libraries window, see
Named Colors
• Spot Colors:
displays all the color swatches of the current spot
color chart, see
Spot Colors
• Default Colors: display the
default colors for the fill and pen styles
To set the Default Colors
These are
set by having nothing selected and clicking the required
color with the left mouse button - for the default fill
color and clicking the required color with the right
mouse button - for the default pen style color. Note: if
you have swapped your mouse buttons over then use the
vice-versa buttons.
|