The Grid, Guides, Rulers,
Dimensions and Border all add their respective
elements to the Print-job when checked on.
•
The Background, Images and
Use Masters are options that may be used as part
of your design which you can add/remove from the
Print-job by checking (on) or unchecking (off).
•
Print in Black and Wireframe alter
how the Print-job is printed regardless of the printer
type.
•
Cut-Color, Reg-Color and
Base-Color are System Colors and are incorporated into
the artwork when its designed and these options when
checked on will be included with the Print-job, also see
Working with System Colors
•
Registration Marks (if
selected) add to the Print-job and display in
the preview to be printed-out.
How
to Set Print Options
To
Do the following
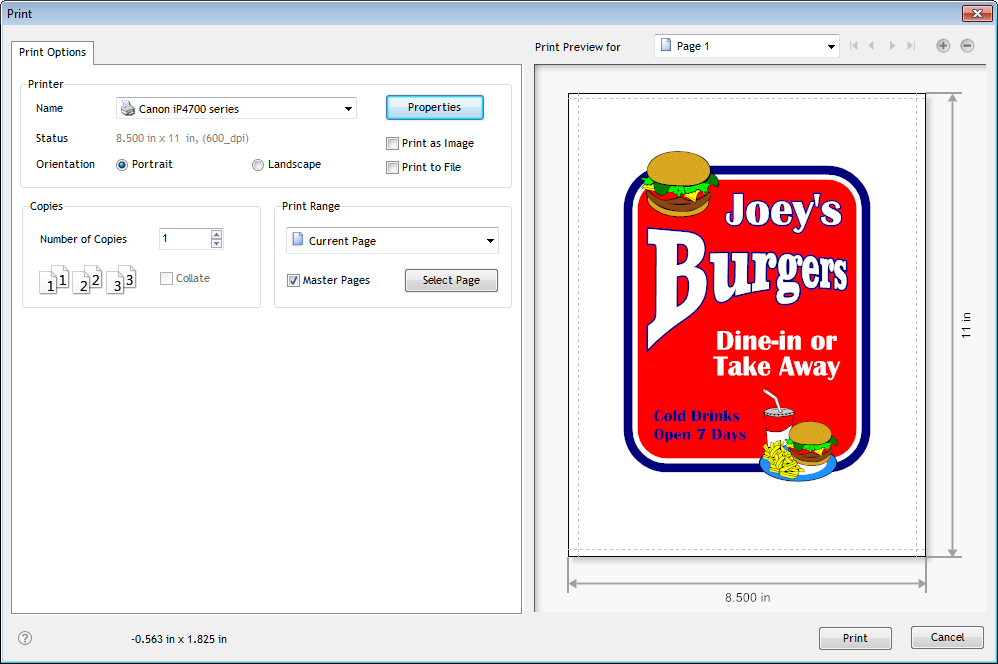
Set the Print Options
1.
Check the required
Options and uncheck those Options that
are not required and the selection(s) will be applied
and appear in the preview and print-out as selected;
2.
Click on the Registration Marks
drop down (as shown directly above) and select the
required Mark type, and the selection will be
applied and appear in the preview and print-out as
selected.
How
to Set View Options
To
Do the following
Set the View Options
•
Select the color space you
wish to view the artwork in prior to printing by
selecting either:
RGB:
On-screen colors;
CMYK:
Printed colors for a softproof or preflight i.e.
what the artwork will look like when printed in
color, or;
Grey: What the
artwork will look like when printed in black and
white.