Overview
You can scan an Image (bitmap) directly into SignMaster Cut
using the your Scanner and the Windows Image Acquisition
utility, outlined as follows.
Click the Images menu
→
Select Image to Vectorize
→
Acquire Image and Vectorize →
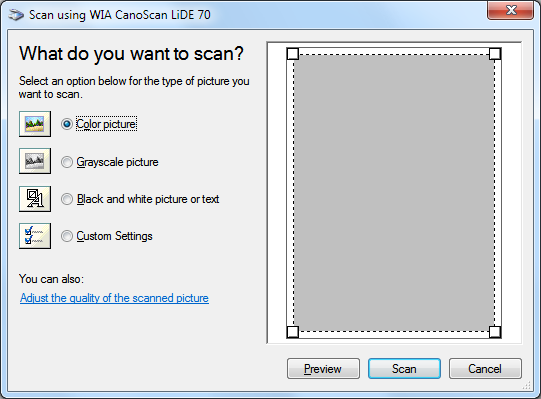
Select Source... menu (as shown at top) and the
Select Scanner window will
open (as shown directly above);
2.
Click on the Twain Source that
begins with WIA (Windows Image Acquisition) and reports
your Scanner's Make and Model;
3.
Click on OK and when you
next click Acquire Image the Scan window will open using
your Make and Model of Printer.
Insert the Artwork
you wish to Scan into your Scanner as per
the Scanner's manual;
2.
Click the Images menu
→
Select Image to Vectorize
→
Acquire Image and Vectorize →
Select Source... menu (as shown at top) and the
Select Scanner window will
open (as shown directly above);
3.
Click Preview and Select
over the Area you wish to Scan;
4.
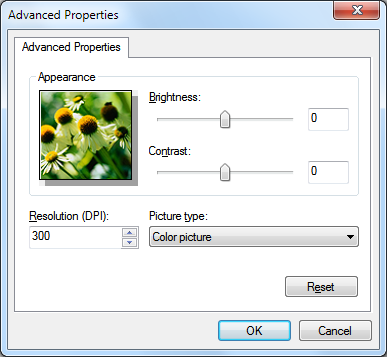
Set the DPI that best suits the
Artwork you wish to Scan-in;
To change the DPI settings click
on Adjust the quality of the scanned picture, (as
shown in blue text in the 2nd window above)
5.
Click on Scan and once
complete the window will close and the Paste Cursor
will come up in SignMaster Cut from where you can
Paste-in the Scan.